Monday, 21 November 2011

Eyes colour

For the eyes, the only map I needed was the colour map. I've been collecting textures for several months now and I have nice human eye texture. I've just applied it to the UVs and changed the colour. This map doesn't have to be big. I think 512 should be enough. I needed two maps, one for each eye.

Here is the maps:


Hair bump

For the bump map I've used exactly the same map as for specular. The only thing I've changed is the hair band. I've reversed its colour so it's standing a little bit more out.

Here is the bump map:

Hair spec

For the hair specular the only thing I've done was desaturating the colour texture and adjust the levels.
Here is the specular map:

Hair colour

For hair I've used 2k texture. I was quite lazy while texturing the hair. I've dawnloaded an imege of hair from google and cut it,copied it and transformed it to fit the UVs. Then I've changed the colour to greenish blue.

Here is the hair map:

Mistake

Once I've applied the texture on the model, I've realised that I've made a mistake. For my model I've used subds and this has smoothed the edges on the model. I've created the texture based on unsmoothed edges and once I've applied the texture it was distorted. There was no time to fix the model and retexture it, so we've decided to stick with it and get on with other work.

Here are the renders of the girl with the texture applied:


Body ambient map

We wanted the pattern on the wet suit to glow. However, the sss shaders don't have a glow option. So the only thing I could do was to make an ambient map. An ambient map gave me a little brighter colour than the original colour map. It's working the same as the specular map, where white is bright and black is not bright. For this I think 1k texture should be enough.

Here is the ambient map:

Body bump map

As the girl is not super realistic human I didn't have to create a bump map with every little wrinkle ans skin pores. However, I needed to add some detail to the lips. To do this I downloaded an image of some lips from google, desaturated it and mapped it onto the model. For this I need an 8k map.

Here is the map:

Body specular map

The sss shader's specular is very strong by default and it's the same on every bit of the model. The girl looked wet. To change it I had to create a specular map. For that I've used only black and white, whilst white is super shiny and black is not shiny at all. For this map I don't need an 8k, I think 1k should be enough.

Here is the map:

Body colour texture

Before creating the texture, I had to figure out how big the texture should be. To do that I looked at the storyboard and based on our resolution (1260x1024) and saw how much of a girl we see in each frame. As I have the UVs for the whole body fitting in 0-1 I need an 8k texture for that.

To create the texture I've used Bodypaint 3D. This program allows me to paint the texture straight on the model without worrying about the seams. Also it allows to create layered texture and use the settings similar to Photoshop. In this texture I have 5 layers. Using few layers makes the skin look more alive. The are lots of colours in the layers below the original layer.

I've also used the Photoshop to straighten the pattern on the wet suit.

Here is the texture:

Blocking out the colors

I've created basic shaders for all the pieces of the girl. Mostly I've used blinns. However, for her body, I've used subsusrface scattering. Before I do any textures, I want to block out the settings for each shader. The blinn shaders were quite straight forward, but sss shader required me to do several test renders to figure out what settings do I need. Here are couple of renders I did for that:


And here are the renders of the whole body and face close up:


Friday, 18 November 2011

Rigging

After I lay the UVs, I've rigged the character. The rig is very simple, but will allow to animate the character according to the storyboard. For arms and legs I've used IKs. There was no need and time to make a switch between FKs and IK in the arms. Legs and feet are fully rigged as the character will be walking a lot. For the sine I've used spline IK. The hands are very simple. They have only one control to make a fist. All fingers move together as we don't need to move them separately. This has saved a lot of time. Also there is not many blend shapes. I've created few simple expressions: open mouth, blink, angry and surprised. Those blend shapes can be mixed together so they should be enough to follow the storyboard. I've also created additional skeleton for her hair. I want the hair to follow the body in natural manner. So I've attached the skeleton to the tip of the head joint and applied a spline IK throughout the hair. Here are screen shots of the rig:


UVs

Before I rig the model I want to lay down the UVs. This will allow the animators to animate the character before texturing it. This will allow the animators and texturers to work simultaneously. The model of the girl is made of five objects, so for each object I've lay the UVs separately. Here are UV snapshots:


Finished Model

I've added the eyes and the eyebrows to the existing model. Then I started working on hair. The hair was really time consuming and was difficult to keep everything in quads. But eventually I got it. Here is a clip of the wire frame:


And here is subdivided model:


Cuts

I've cut the mesh to create the holes in girl's wet suit. While I was cutting it, I was keeping an eye on keeping everything in quads and at the same time give the mesh some logical edge flow. Here are the renders of the cuts:


I've managed to keep everything in quads, but I'm not very happy with the edge flow. I've decided to subdivide it and see how it's going to look on a smooth model. The result wasn't so bad, so I'll leave it like than. Here is a clip of a smooth model, I didn't show the wire frame here because I wanted to just focus on the surface:


Girl Base Mesh

To improve our story, we’ve decided to add a character to the environment. The main character is a girl who is curious of the world outside the jellyfish. The team asked me to model and rig the girl.

I was given nice image planes by Simone:


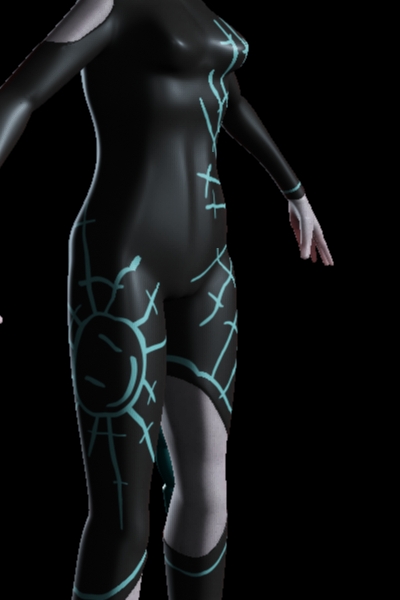
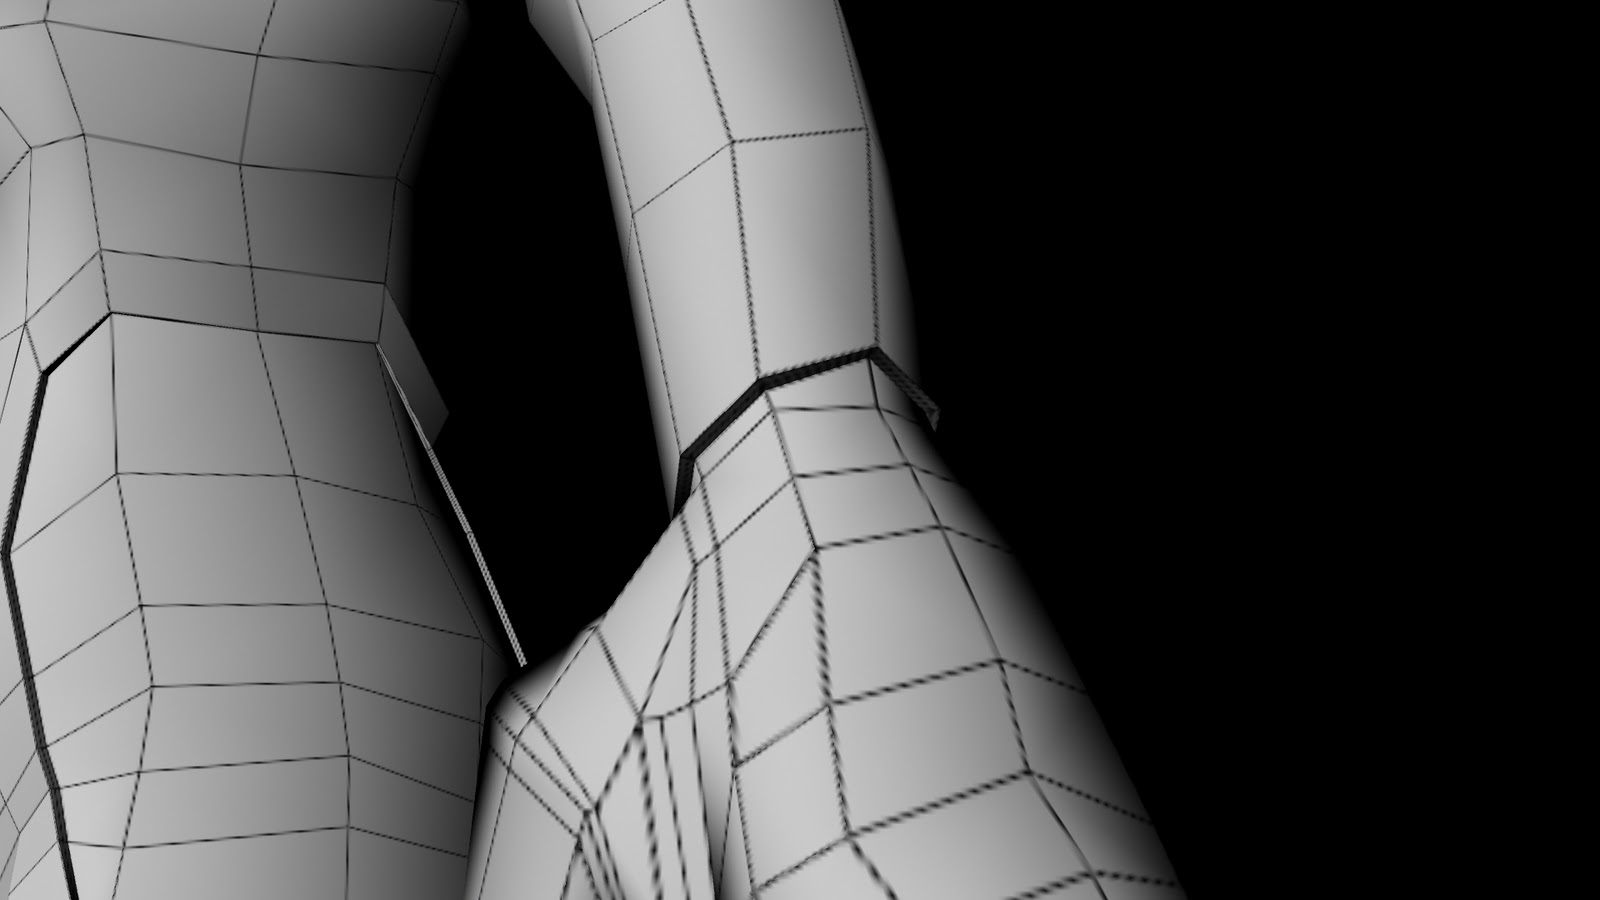
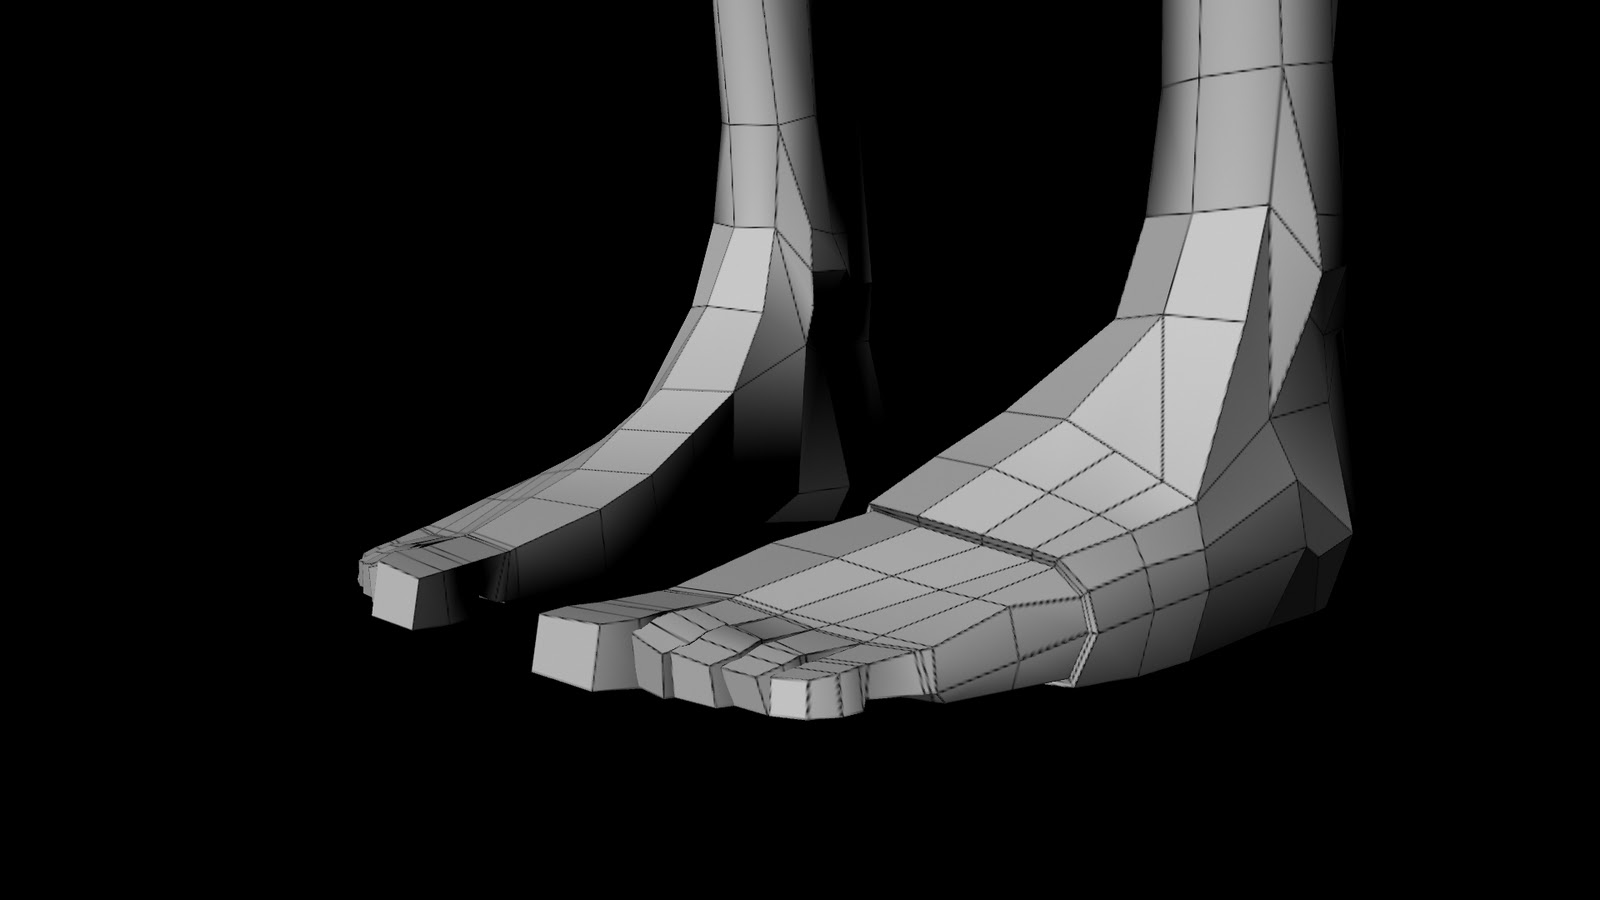
Based on them I’ve modelled a base mesh of the girl’s body:


Now I will need to figure out the cuttings in this mesh to match the shape of her outfit. This is going to be a bit of a challenge to keep the edge flow relevant to the designs and keep everything in quads. I need to make these cuts to be able to extrude along them. The extrusions will add thickness to the outfit. Here is an image where I’ll add those cuts: